Step 1
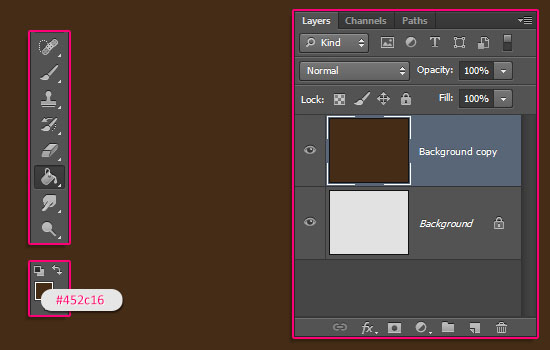
- Create a new 1000 x 800 px document. Duplicate the Background layer then fill it with the color #452c16.

Double click the Background copy layer to apply a Pattern Overlay effect by changing the Blend Mode to Multiply, and choosing the “Rice paper” pattern
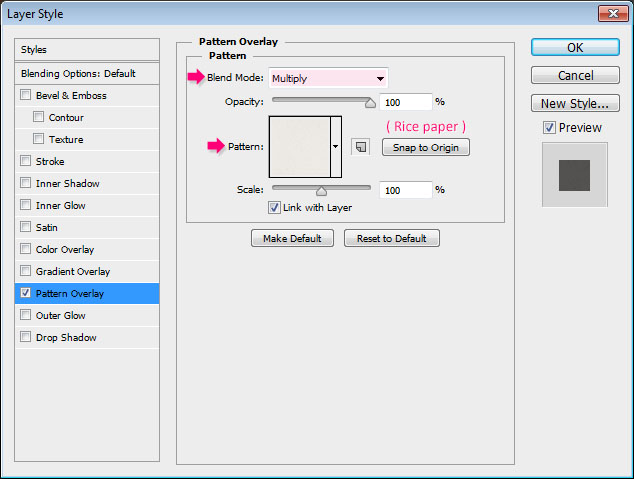
- This will add a subtle texture to the background.

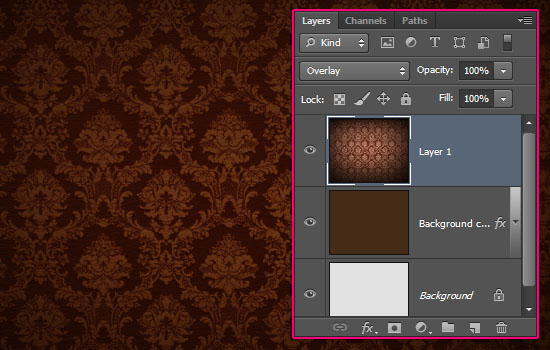
Place the “Damask Texture” image on top of the Background layer, resize it as needed, then change its layer’s Blend Mode to Overlay
Step 2
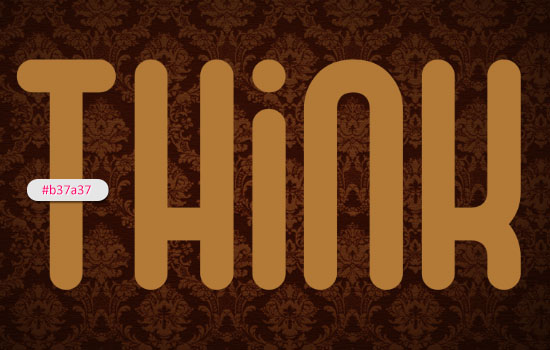
- Create the text using the font “False Positive BRK”, the color #b37a37 and the Size 430 pt
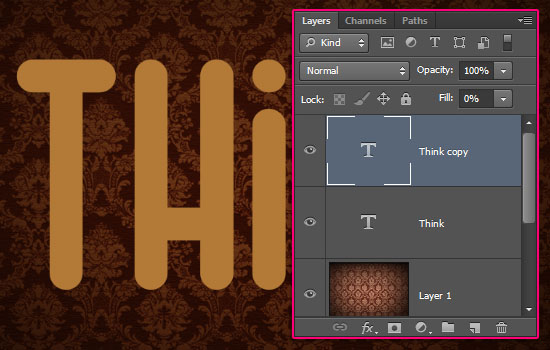
- Duplicate the text layer then change the copy’s Fill value to 0.
Step 3
Double click the original text layer to apply the following Layer Style:
- Bevel and Emboss: Change the Technique to Chisel Soft, the Size to 21, the Gloss Contour to Ring – Double, check the Anti-aliased box, change the Highlight Mode to Linear Dodge (Add), and the Shadow Mode color to #c7b299

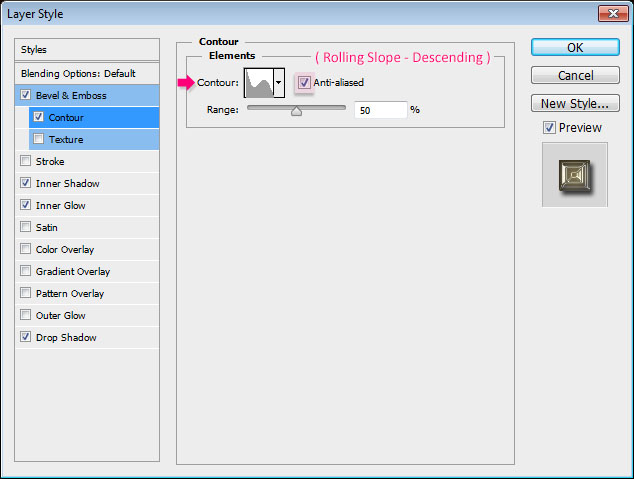
- Contour: Choose the Rolling Slope – Descending contour, and check the Anti-aliased box
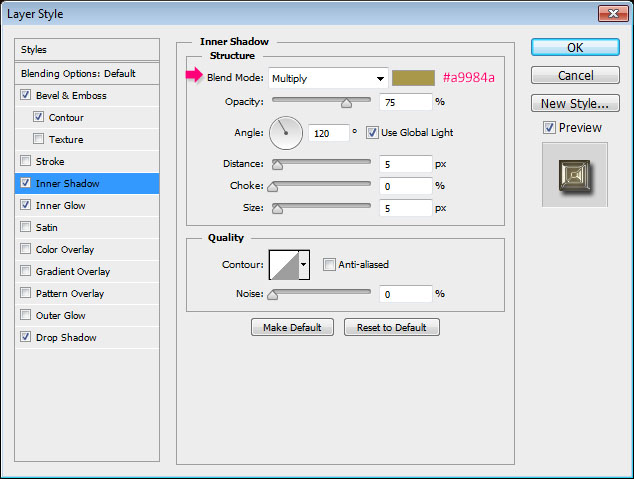
- Inner Shadow: Just change the color to #a9984a.
- Inner Glow: Change the Blend Mode to Overlay, the color to #eadfa2, the Source to Center, and the Size to 60.

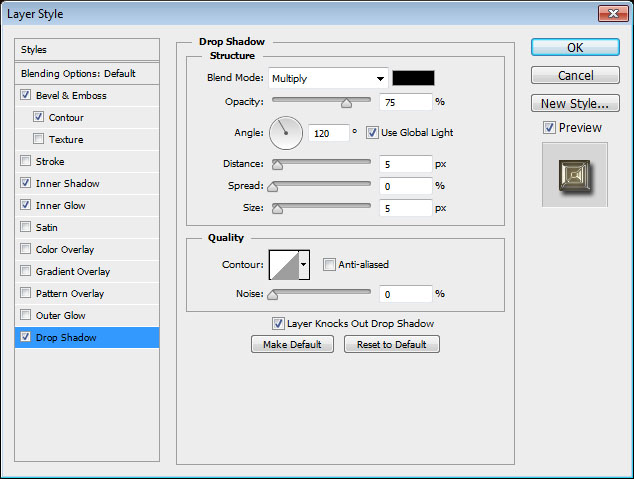
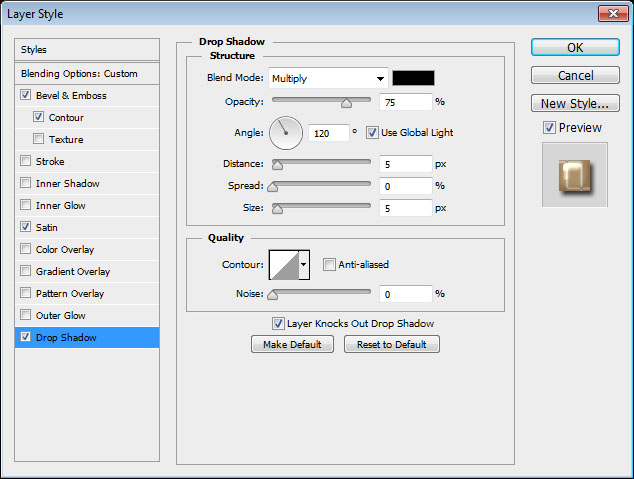
- Drop Shadow: Use the default values.
- This will create the first layer of the effect, with the shiny bright parts.
Step 4
Double click the copy text layer to apply the following Layer Style:
- Bevel and Emboss: Change the Size to 21, uncheck the Use Global Light box, change the Angle to 121, the Altitude to 58, check the Anti-aliased box, change the Highlight Mode to Linear Dodge (Add), and the Shadow Mode color to #c7b299.
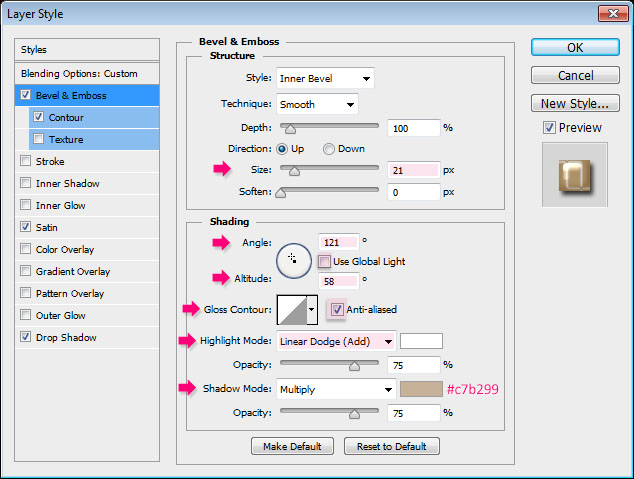
- Contour: Choose the Half Round contour, and check the Anti-aliased box.

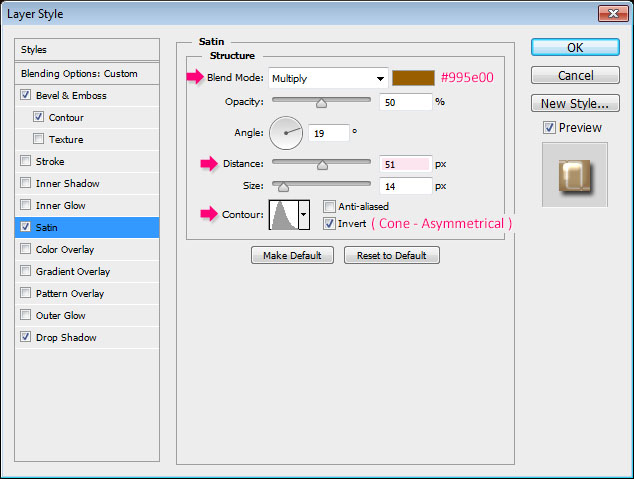
- Satin: Change the color to #995e00, the Distance to 51, and the Contour to Cone – Asymmetrical.
- Drop Shadow: Use the default values.
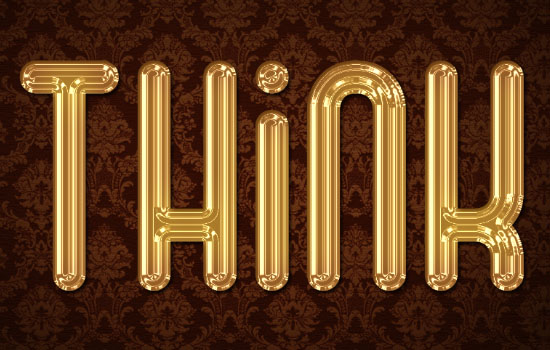
- This will create the second layer of the effect, which adds the glossy, velvety, effect to the text.
Step 5
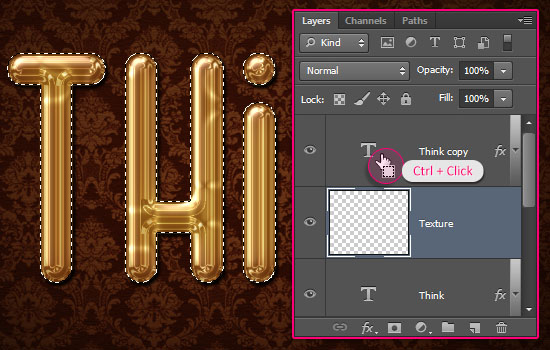
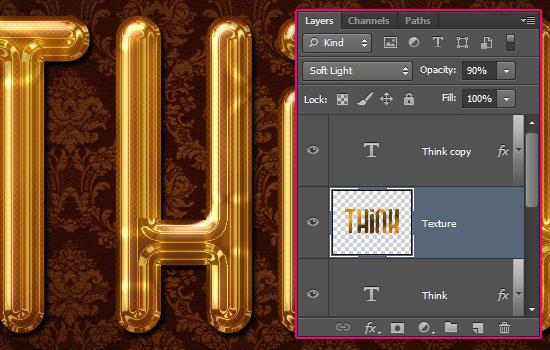
- Ctrl + click a text layer’s thumbnail to create a selection, then, create a new layer between the two text layers and call it “Texture”.
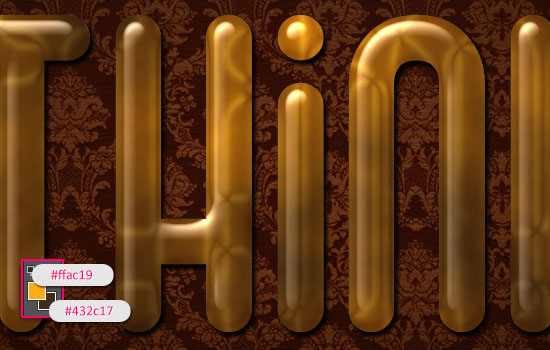
- Set the Foreground color to #ffac19 and the Background color to #432c17. Go to Filter -> Render -> Clouds, then go to Select -> Deselect (Ctrl + D) to get rid of the selection.
- Go to Filter -> (Filter Gallery) -> Sketch -> Halftone Pattern, and change the Size to 1, the Contrast to 5, and the Pattern Type to Dot, then click OK.
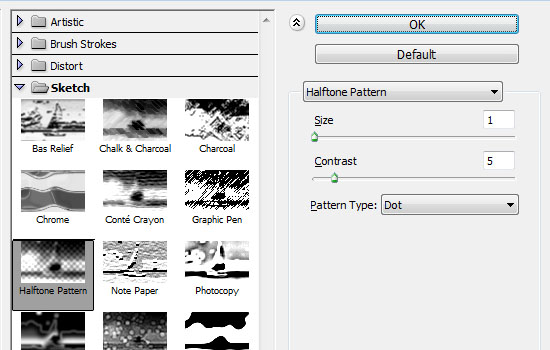
- This will create a very simple pattern.

- Change the “Texture” layer’s Blend Mode to Soft Light, and reduce its Opacity to a value you like. Here, it is reduced to 90%. This will add a nice touch to the plain golden effect.
Step 6
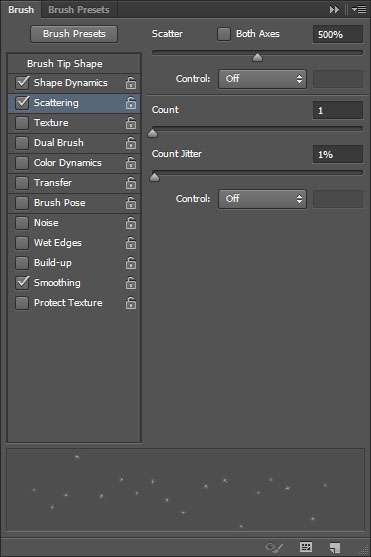
- Pick the Brush Tool, then open the Brush panel (Window -> Brush).
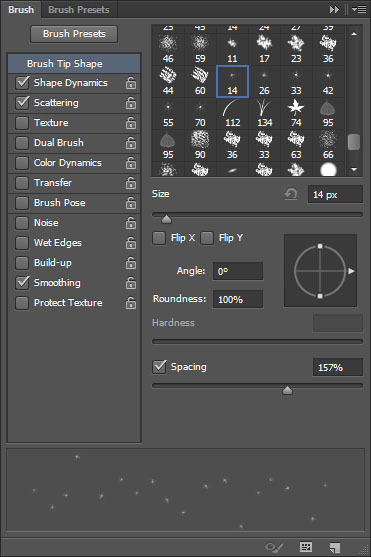
Choose the “Star 14 pixels” brush, and modify its settings as shown below:
- Brush Tip Shape:
- Shape Dynamics:
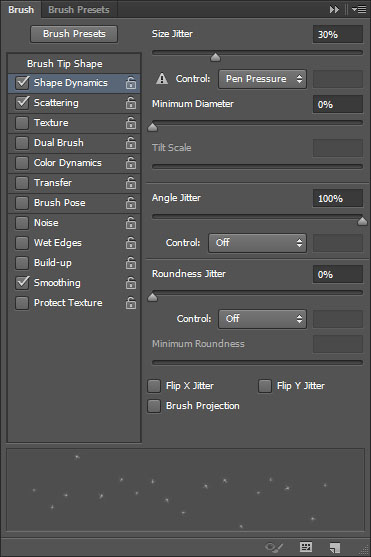
- Scattering:
Step 7
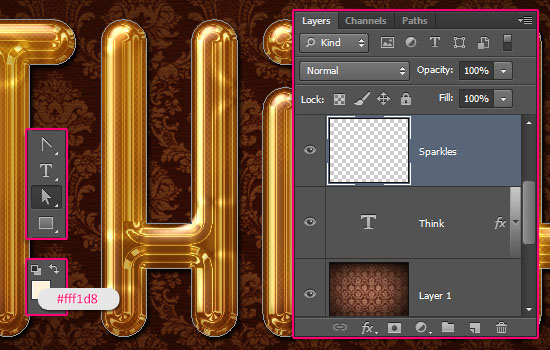
- Right click the text layer and choose Create Work Path.
Create a new layer on top of the original text layer and call it “Sparkles”.
Set the Foreground color to #fff1d8, and pick the Direct Selection Tool.
- Right click the work path and choose Stroke Path. Then, choose Brush from the Tool drop down menu, and make sure that the Simulate Pressure box is un-checked.
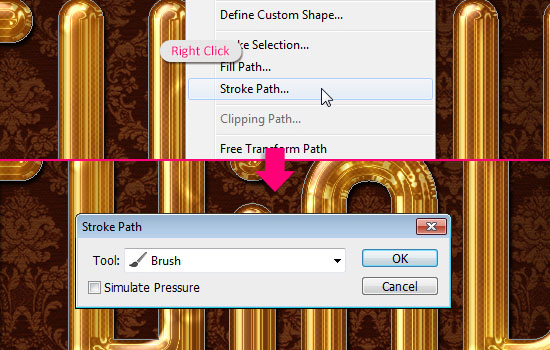
- This will add tiny sparkles around the text. Hit Enter to get rid of the path.

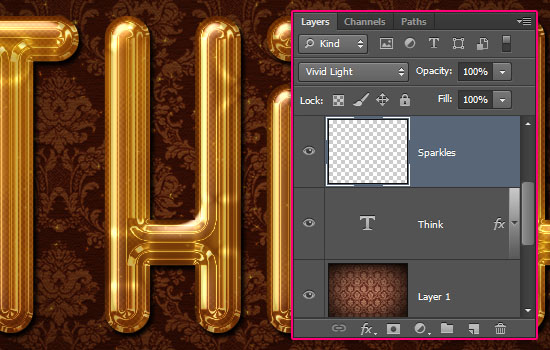
- Change the “Sparkle” layer’s Blend Mode to Vivid Light.
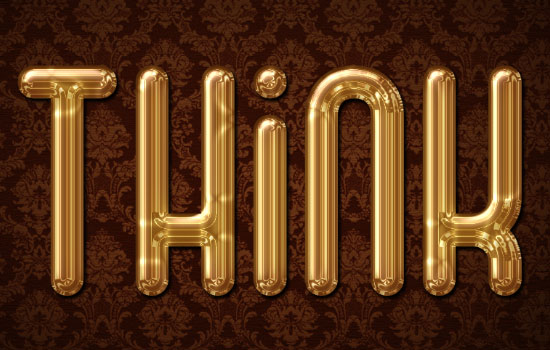
- And finally, the text at the top and bottom is created using the font “ETHON“, the font Size is 100, the color is #ffe9e1, the Blend Mode is Soft Light, and then, a default Drop Shadow effect is applied.
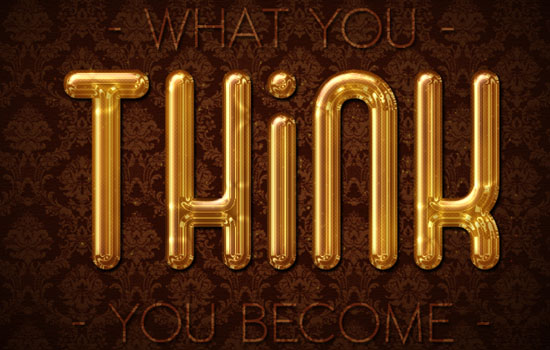
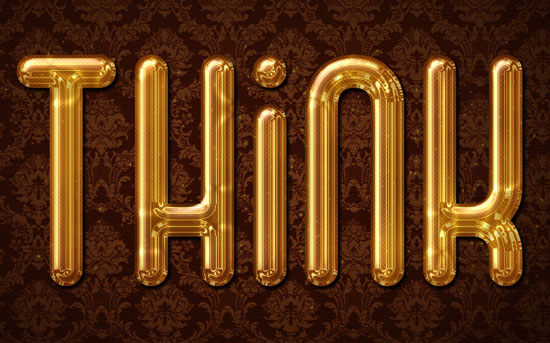
And there you have your glamorous shiny gold text effect!